

こんにちはーー
Blenderで↓のようにオブジェクトを輝かせてみたので、その方法について記事にしました。
この議事が誰かの役に立てば幸いです。
オブジェクトの設定
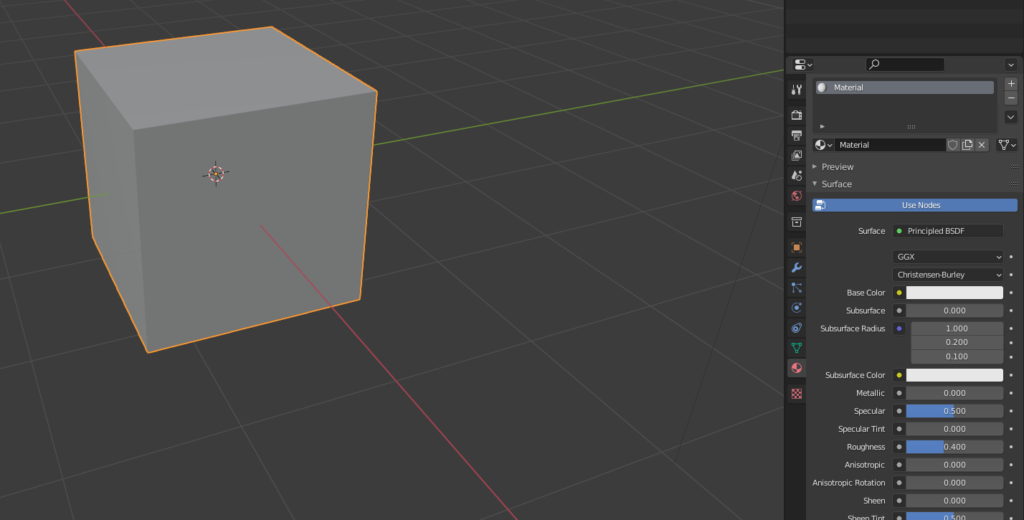
右の下から二番目の丸い箇所をクリックして設定していきます
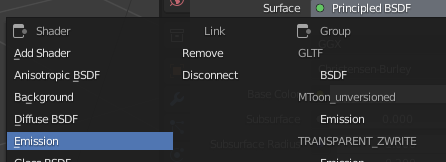
SurfaceからEmissionを選択します
Emissionにしたらカラーを決めて、
Strengthを10にします。
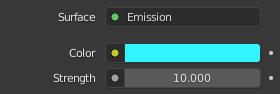
このStrengthを10にするの重要です!!
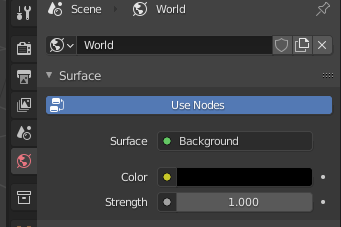
背景色
背景色をブラックにします
輝きがわかりやすくなるのでブラックにしました
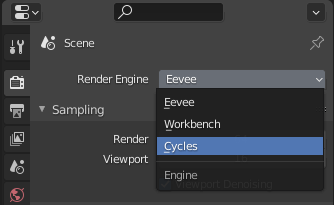
Render Engine
Render EngineからCyclesを選択します
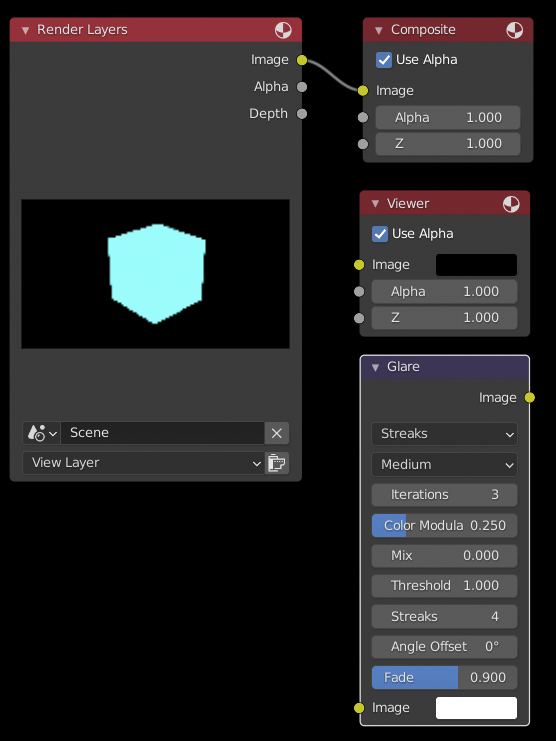
Compositiong
Compositiongのタブに移動します

Use Nodesにチェック入れます

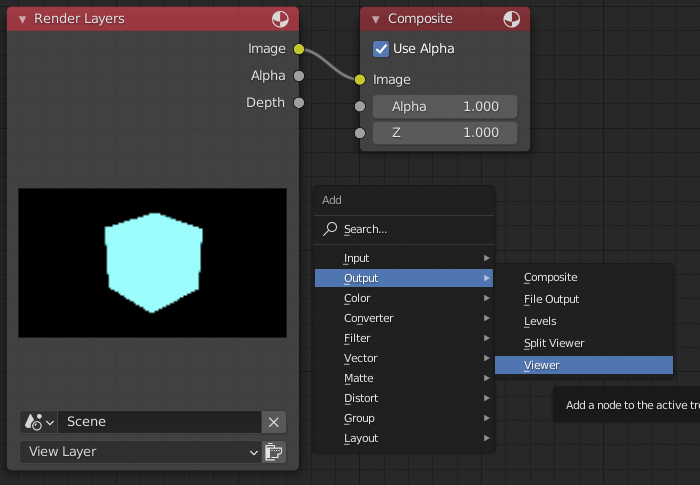
Viewer
Shift + a を押して、
Output → Viewer を押します
↓
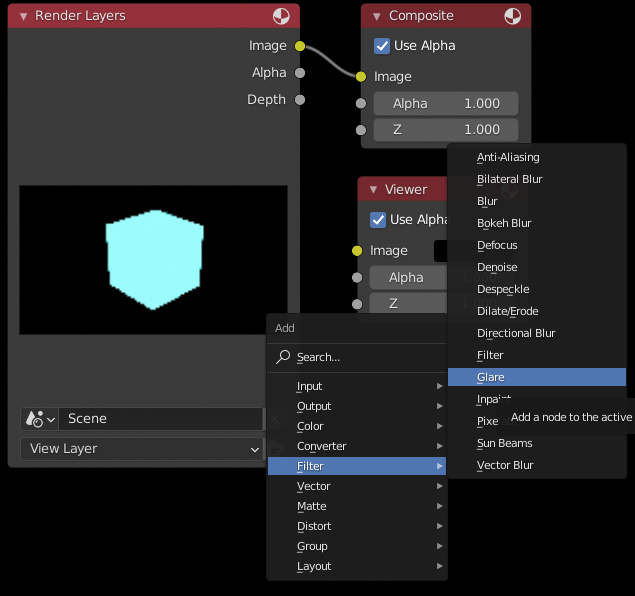
Glare
また、shift + a を押して
Filter → Glare を選択します
↓
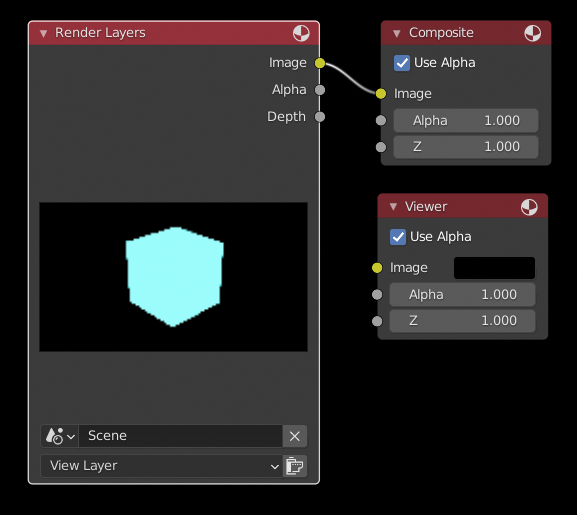
ViewerとGlareを繋げる
↓のようにimageとGlareのimageを繋げ、GlareとViewerのimageを繋げると光ります。
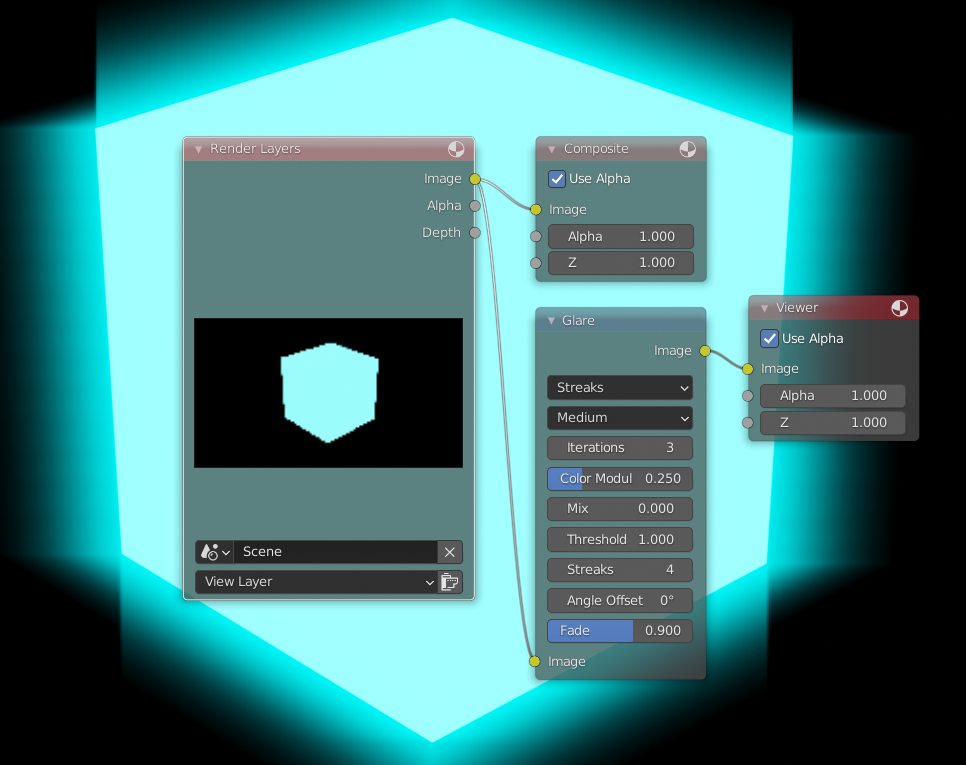
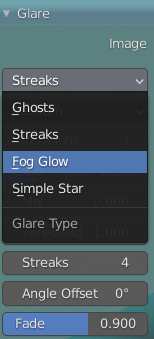
GlareでFog Glowを選択します
Rendering

Renderingのタブを選択します
Viwer Nodeを選択します
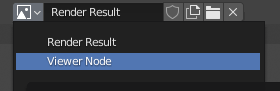
これで完成です!!

以上になります。
ではまた!!


コメント